> ## Documentation Index
> Fetch the complete documentation index at: https://docs.heygarth.ai/llms.txt
> Use this file to discover all available pages before exploring further.
# Install in MS Teams
> Install GAssist from the Microsoft Teams app store, link your Git provider, and start managing pull requests from chat.
Install GAssist from the Microsoft Teams app store to manage your pull requests without leaving Teams.
Before you install, a Garth admin in your organization must complete the [Garth admin setup](/gassist/admin-setup). This one-time step links your Garth tenant with Microsoft Teams.
## Install GAssist
Open the Microsoft Teams desktop app and open the **Apps** menu.
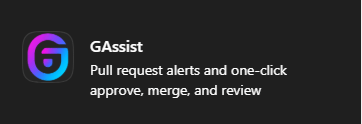
Search for **GAssist** and select it from the results.
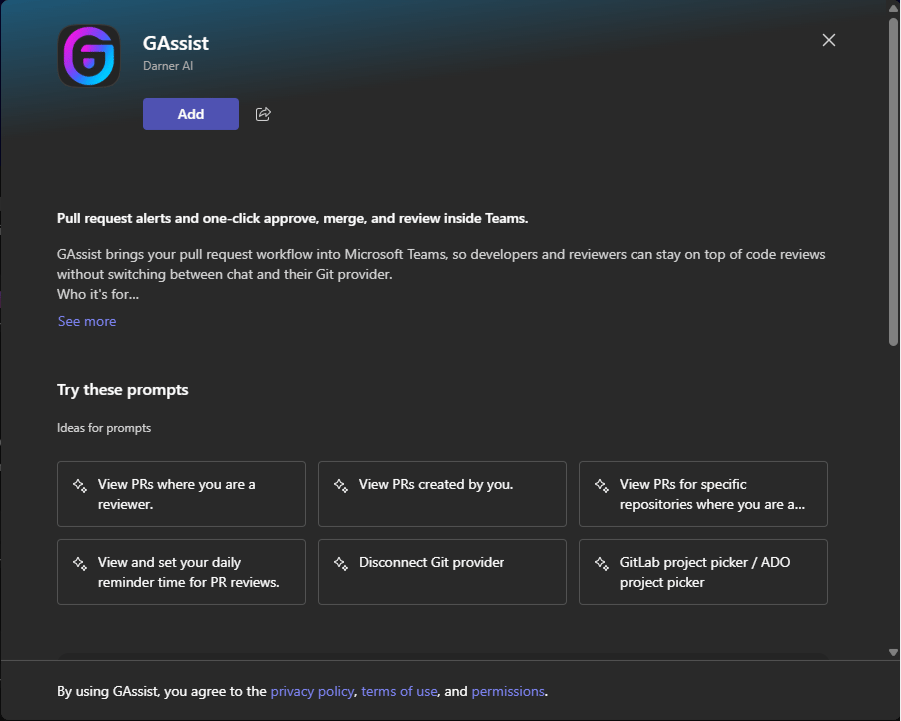
 Select **Add** to install GAssist.
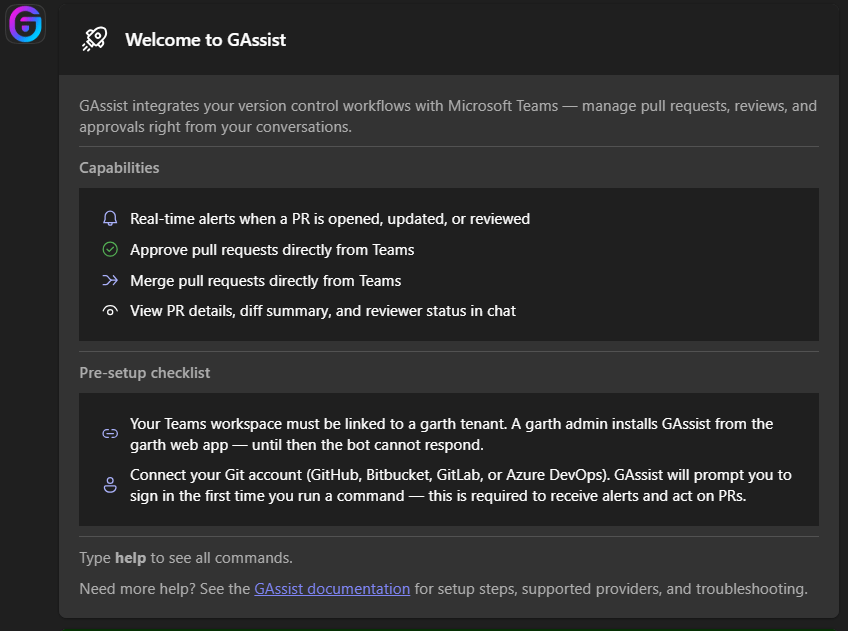
 Once installed, GAssist sends you a welcome card that summarizes its capabilities and available commands, and confirms it is linked to your Garth tenant.
 ## Link your Git account
GAssist follows up with an authentication card. Select your Git provider to complete the OAuth sign-in — no command required.
## Link your Git account
GAssist follows up with an authentication card. Select your Git provider to complete the OAuth sign-in — no command required.
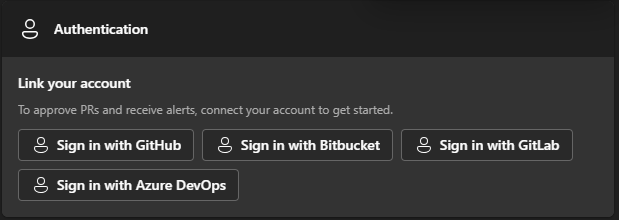 GAssist supports the following Git providers:
* **GitHub**
* **Azure DevOps**
* **Bitbucket**
* **GitLab**
## Start managing PRs
Once your Git account is linked, you can interact with your pull requests directly from MS Teams.
| Type this | To do this |
| ---------------- | --------------------------------------- |
| `reviews` | See all PRs assigned to you for review |
| `created` | See all PRs you have opened |
| `filter reviews` | Filter your review PRs by repository |
| `help` | See the full list of supported commands |
Type `help` at any time to see all supported commands directly in chat.
## Next steps
Full list of GAssist commands for managing PRs and configuring notifications.
Configure which PR events trigger notifications in your channel.
GAssist supports the following Git providers:
* **GitHub**
* **Azure DevOps**
* **Bitbucket**
* **GitLab**
## Start managing PRs
Once your Git account is linked, you can interact with your pull requests directly from MS Teams.
| Type this | To do this |
| ---------------- | --------------------------------------- |
| `reviews` | See all PRs assigned to you for review |
| `created` | See all PRs you have opened |
| `filter reviews` | Filter your review PRs by repository |
| `help` | See the full list of supported commands |
Type `help` at any time to see all supported commands directly in chat.
## Next steps
Full list of GAssist commands for managing PRs and configuring notifications.
Configure which PR events trigger notifications in your channel.