

Before you start
- A Microsoft 365 administrator with access to Teams Developer Portal and the Teams admin center.
- A G360 administrator account.
-
Your G360 messaging endpoint. It must use HTTPS with a valid certificate and end with a trailing slash:
Messaging endpoint
Part 1: Create the bot
In Teams Developer Portal:Create the bot
G360 Alerts, and select Create bot.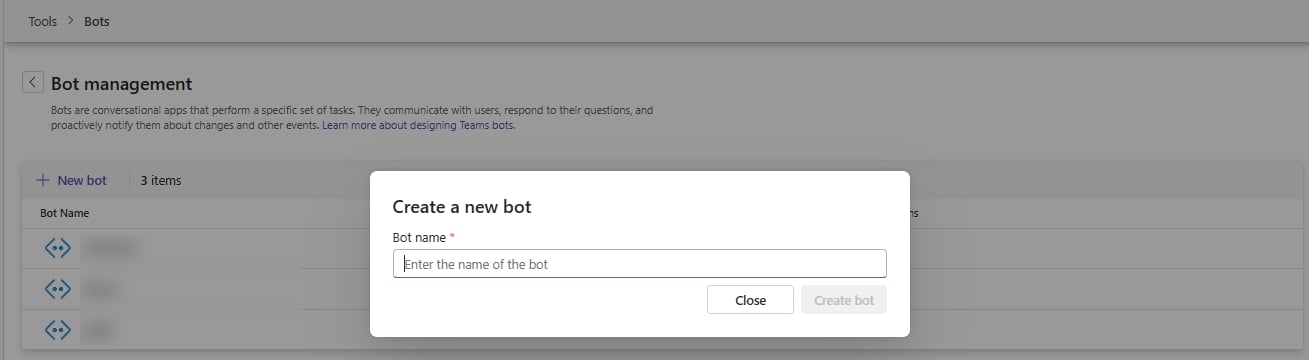
Set the endpoint
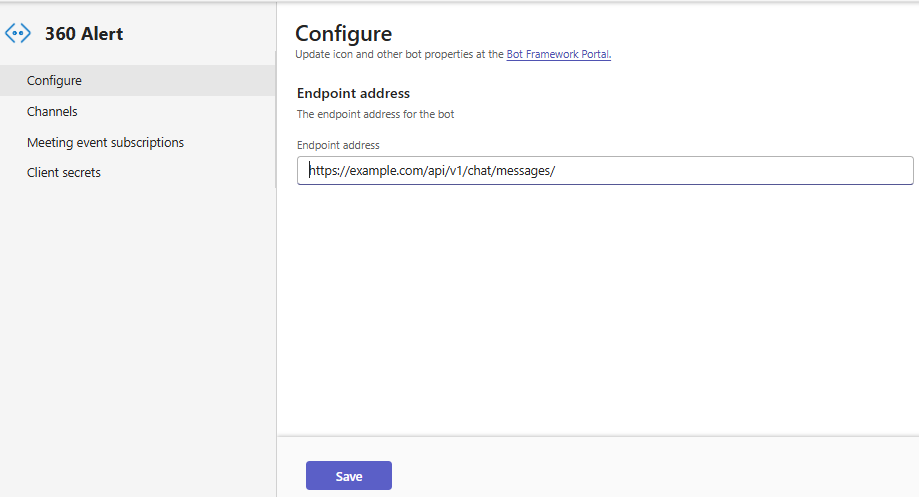
Create a client secret
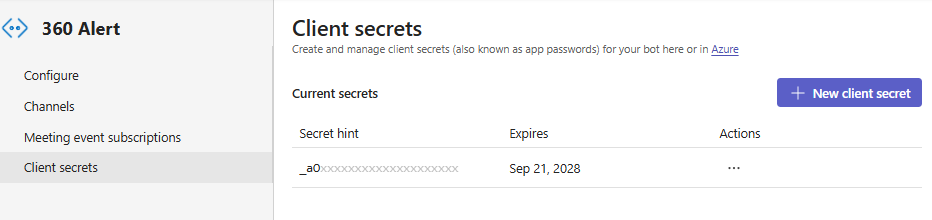
Copy the Bot ID
Part 2: Create the app
Create the app
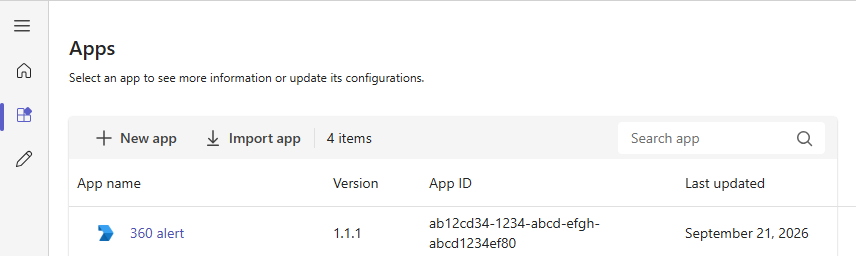
Fill in basic information
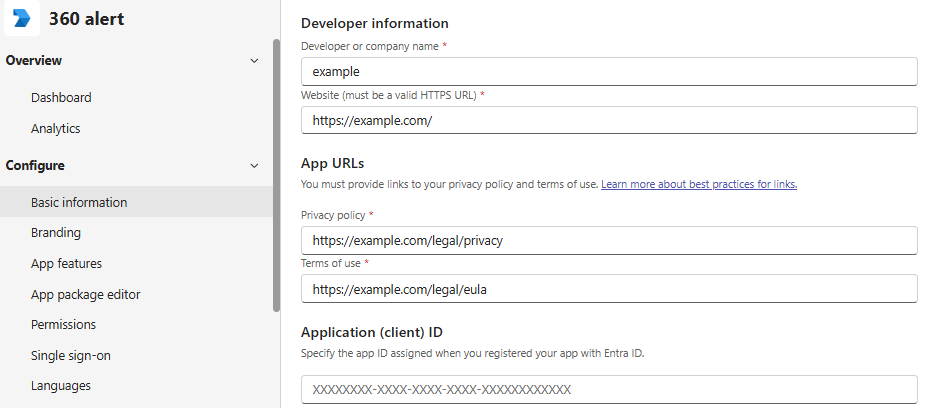
- Go to Configure → Basic information and complete every required field: short and long description, developer name, website, privacy policy URL, and terms of use URL.
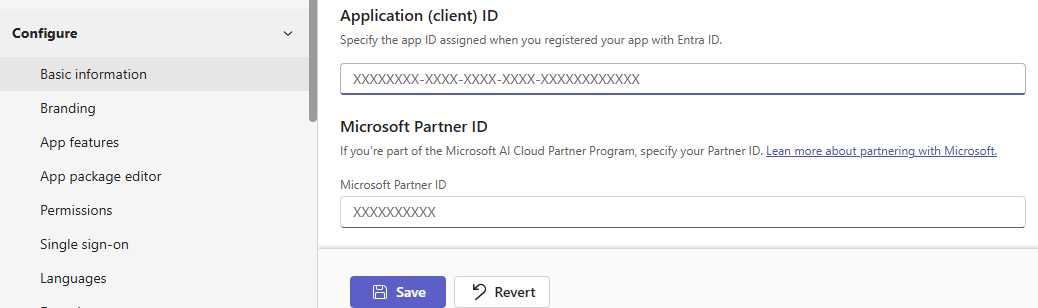
- Paste your Bot ID into Application (client) ID and select Save.
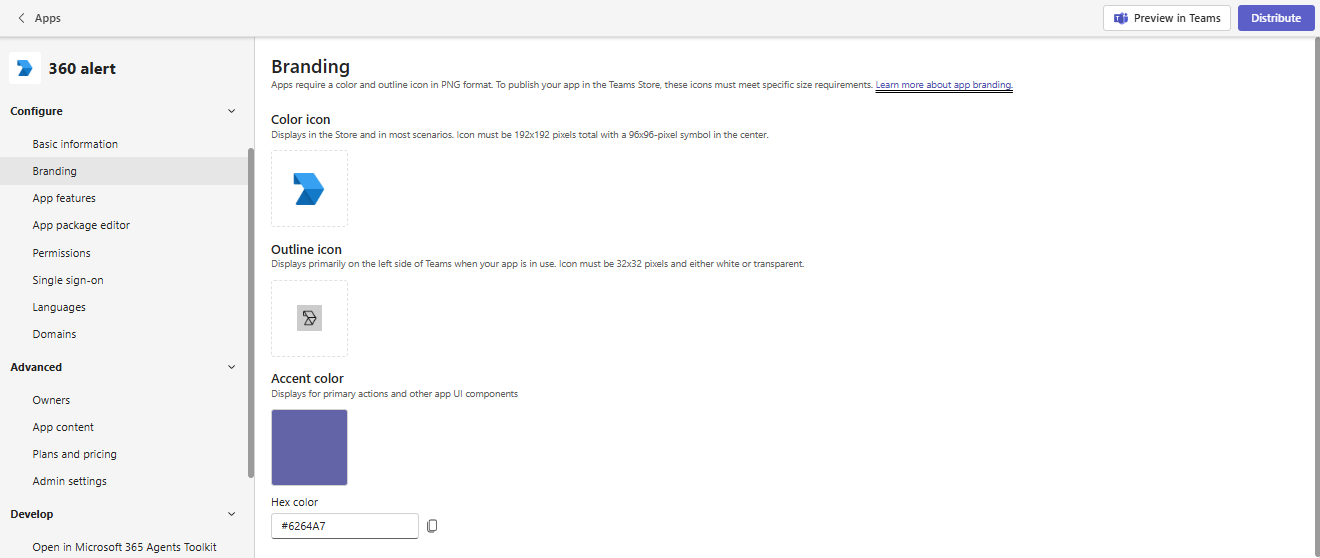
- Go to Configure → Branding and upload a Color icon (192 × 192 px) and an Outline icon (32 × 32 px, transparent).
Attach the bot
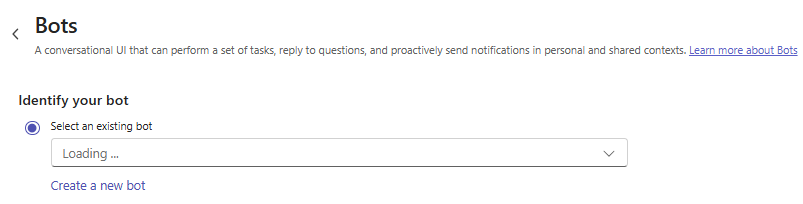
- Go to Configure → App features and select the Bot tile.
- Under Identify your bot, choose Select an existing bot and pick the bot from Part 1.
- Under scopes, select Personal and Team, then select Save.
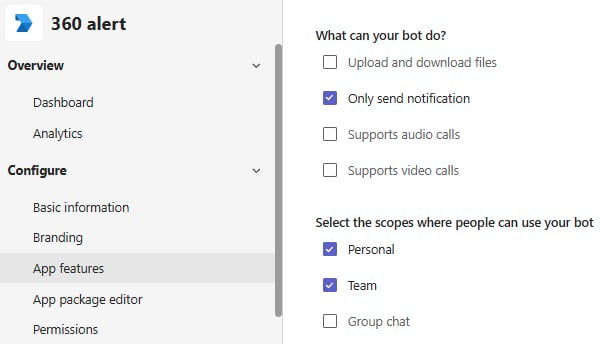
Add permissions
- Select Send the user notifications.
- Under Team permissions → Application, select TeamMember.Read.Group.
- Select Save.
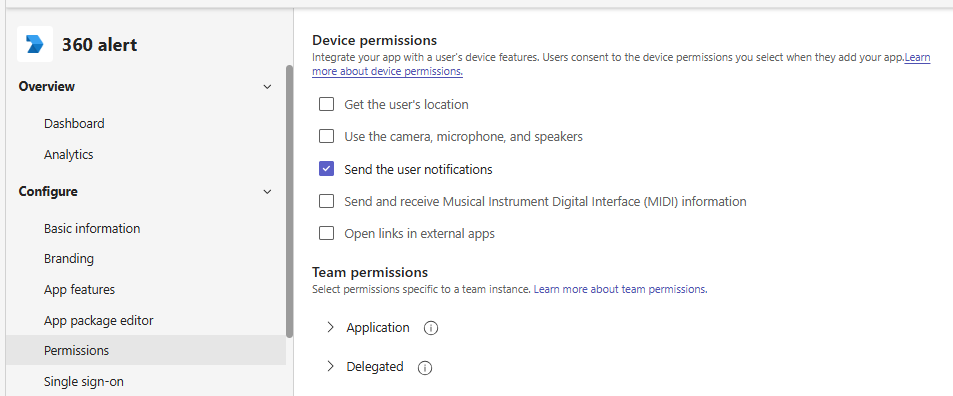
TeamMember.Read.Group lets G360 match Teams users to G360 users. Without it, nobody can receive direct messages.Check the manifest
manifest.json from the settings in the previous steps. Use the reference manifest to confirm it is correct, or to fix any field the portal forms don’t set.-
Go to Configure → App package editor and open
manifest.json.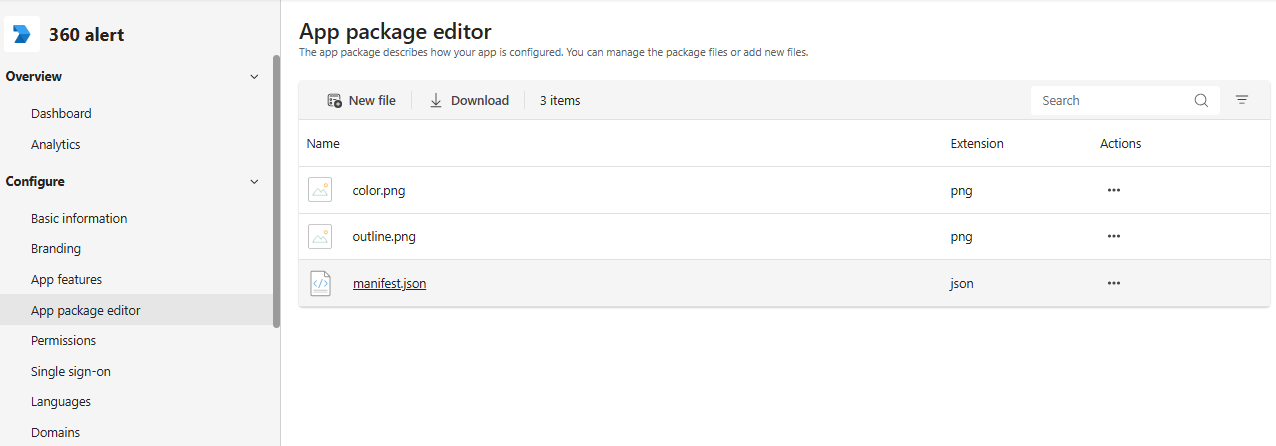
-
Compare it with the reference manifest. Check these fields in particular:
-
If a field differs or is missing, edit it in the editor. You can also paste the reference manifest over the file. If you do, keep the portal’s
idvalue, replaceYOUR-BOT-IDin both places, and replace thedeveloper,name, anddescriptionvalues with your own. - Select Save, then Update.
Download the package
.zip file for Part 4.Part 3: Enter the credentials in G360
In G360, go to Settings → Teams Settings.Credentials
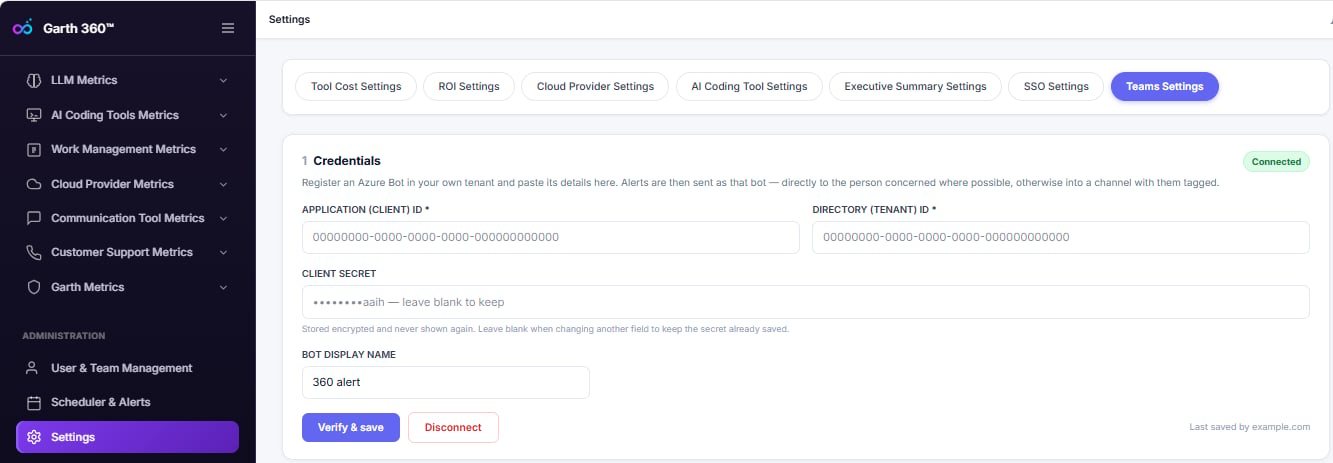
Settings → Teams Settings, Credentials section.
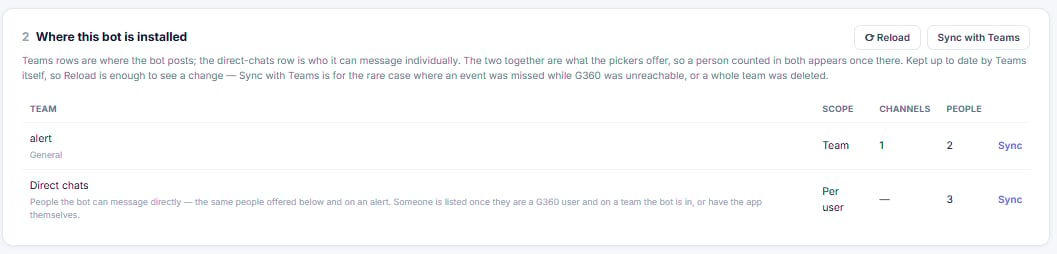
Where this bot is installed
This section stays empty until you publish the app in Part 4.- Reload — re-reads what G360 already knows, without calling Teams. Teams notifies G360 of channel and member changes, so this is usually enough.
- Sync with Teams — checks every team with Microsoft and removes deleted ones. Teams sends no notification when a team is deleted, so use this to clear them.
Send a message
Pick a channel and a person, then send a test message. The test uses the same delivery path as alerts and reports, so if it works here, it works there. G360 reports each destination separately.Part 4: Publish to your organization
Individual users install nothing.Upload to the org catalog
.zip. Some tenants show Actions → Upload new app.
Source: Microsoft Learn
Install it for everyone
Source: Microsoft Learn
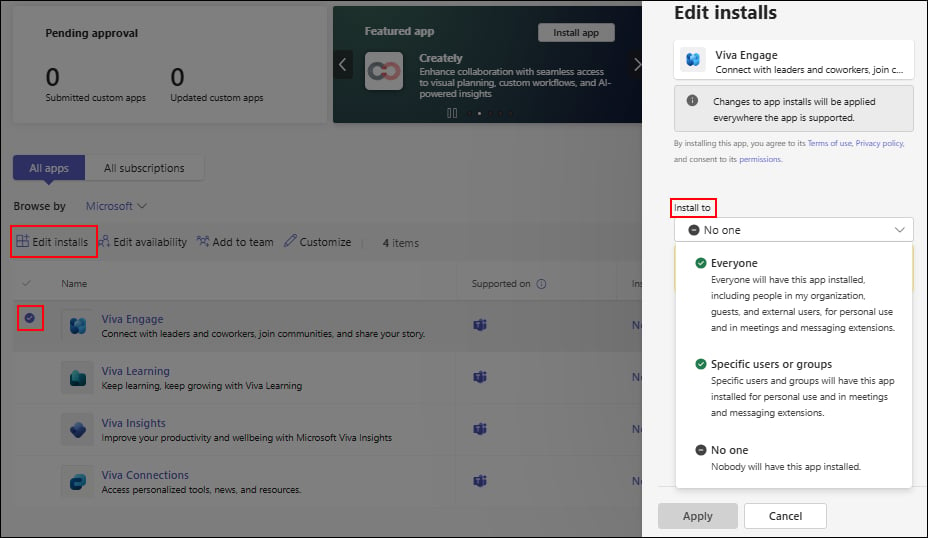
- Path A: app centric management
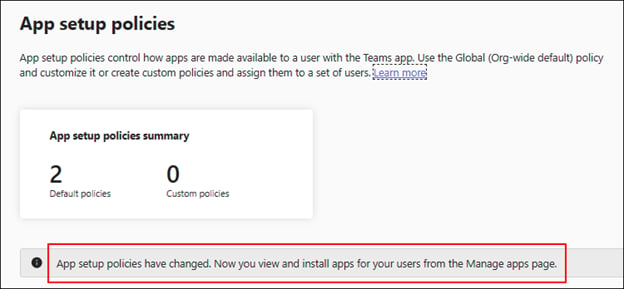
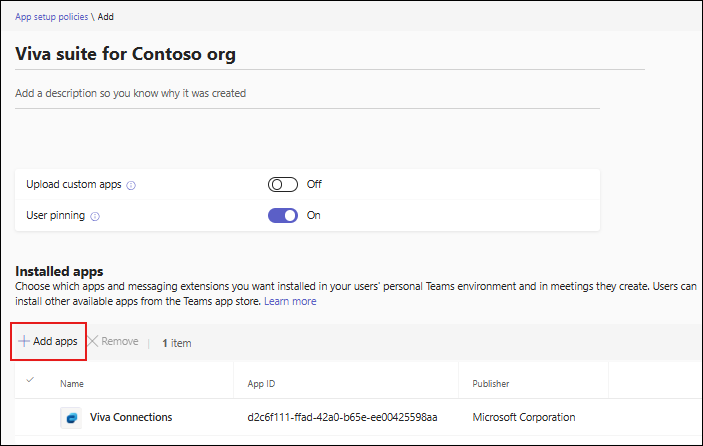
- Path B: app setup policies
- Go to Teams apps → Manage apps and select your app.
- Select Edit installs, choose everyone in your organization, and select Apply.
Source: Microsoft Learn
Add the bot to a team
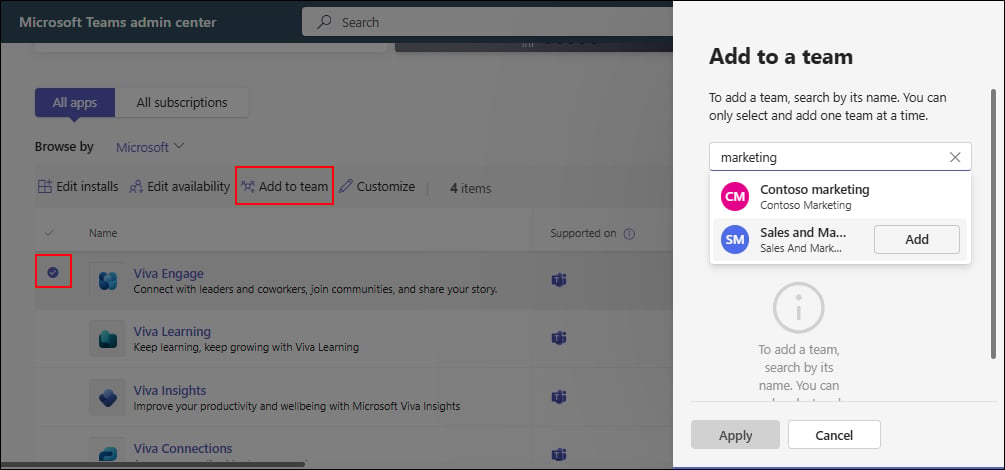
- Admin: in Manage apps, select your app → Add to team → pick the team → Apply.
- Team owner: in Teams, go to the team → More options (…) → Manage team → Apps → Add an app, and pick it from Built for your org.
Source: Microsoft Learn
Confirm
Part 5: Use Teams in alerts and reports
In Schedule Alert or Schedule Report, select Teams under Notification Channels, then choose how to notify: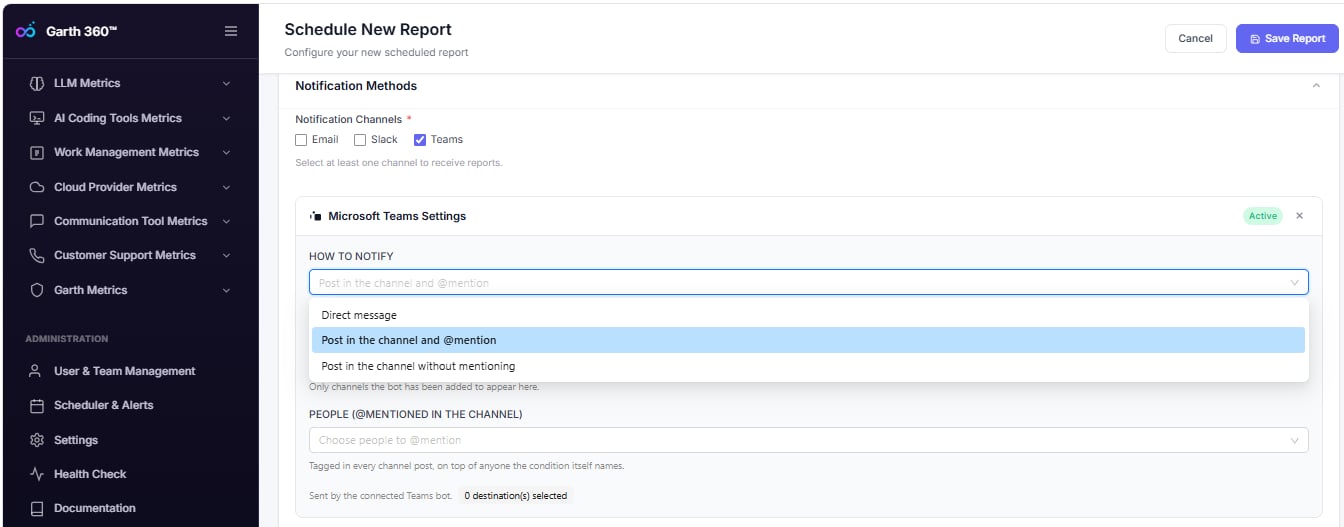
- The app is installed for them (Part 4, step 2).
- Their Teams email matches their G360 login email exactly.
Troubleshooting
"RSC permissions require webApplicationInfo.appId"
"RSC permissions require webApplicationInfo.appId"
"supportsChannelFeatures must be included" or "Value false is not of the expected type String"
"supportsChannelFeatures must be included" or "Value false is not of the expected type String"
"supportsChannelFeatures": "tier1" in the App package editor. The value is a quoted string, not true, false, or null."We couldn't parse the app manifest"
"We couldn't parse the app manifest"
"Invalid Bot. Please make sure the bot is registered and Teams channel is enabled"
"Invalid Bot. Please make sure the bot is registered and Teams channel is enabled"
The app is installed, but nothing appears in G360
The app is installed, but nothing appears in G360
- Confirm APPLICATION (CLIENT) ID in G360 equals
botIdin the manifest. G360 ignores events from any other bot, so a mismatch shows no error — the install looks fine in Teams but nothing reaches G360. - Confirm the bot endpoint ends in
/api/v1/chat/messages/, including the trailing slash. - Wait a few hours for the app and policy changes to roll out.
- Select Reload. The page does not refresh on its own.
The endpoint shows "Method not allowed" in a browser
The endpoint shows "Method not allowed" in a browser
A deleted team is still listed
A deleted team is still listed
"That team, channel or chat no longer exists in Teams."
"That team, channel or chat no longer exists in Teams."
Someone is missing from the people list
Someone is missing from the people list
Nobody gets direct messages; everything goes to channels
Nobody gets direct messages; everything goes to channels
Someone left a team but still gets messages
Someone left a team but still gets messages
Alerts stopped after the client secret expired
Alerts stopped after the client secret expired
Reference
App manifest
ReplaceYOUR-BOT-ID in both bots[0].botId and webApplicationInfo.id. Keep the portal-generated id — that is the app ID, not the Bot ID.
isNotificationOnly to false and add "supportsFiles": true. Users can then message the bot, which ignores what they send.